Flutter: EV Dash 2
Building a Dribbble UI designed by Afroman for RaDesign in Flutter, Part 2.
Brief Recap
I decided to start a self-development project called #TheWeekend at the beginning of July 2021 (I'm thinking about adding "Project" at the end of this, but I haven't decided yet). The goal of this project is to practice as much as possible in order to enhance both my design and development skills by recreating current projects that interest me and coming up with basic concepts that can be accomplished in a weekend (assuming all other factors are equal). Throughout these processes, I will be honest in my submissions, revealing all of my triumphs, frustrations, and failures through the articles I post, hence the informal tone of these pieces. I'm here to learn and share as much as I can with you.
Project 1: Dash
Expectation vrs Reality
#TheWeekend's first concept was inspired by Afroman's dribble design. This design piqued my curiosity, so I started working on it three weeks ago. Although #TheWeekend tasks are meant to be completed over the course of a weekend, it didn't take long for me to realize that some projects can take more than one weekend to finish if all factors are not equal. This meaning I wouldn't have to go out on the weekend, there wouldn't be a surprise event, and there wouldn't be a bug in my code that makes me forget everything so I can just enjoy my weekend. All of these happened, yhup. As a result, I had to rethink the entire project description:
Projects for #TheWeekend can last longer than a weekend, but they must be completed during that time as much as possible. Regardless of how much work has been done, a running project must be completed by the third weekend. Rather than being perfect, the idea is to make progress.
Tools used
- Flutter (UI)
- Rive (Stateful Animations)
- Blender (3D Design of vehicle done by my brother, amazing guy!)
- Adobe After Effects (Motion graphics for charging sequence)
- Adobe Photoshop (Creation of the charging streak gif)
- Codemagic (CI/CD for Flutter Apps)
Development Process (Continued)
*Kindly checkout the previous article for the initial steps I took.
On the surface, this interface appears simple to create; that is, if you mentally walk through it; but, we (developers) all know that the tale changes once you begin coding. This project was written entirely in Flutter, with state management provided by the Bloc package. Initially, bloc was used extensively, but after doing some research on cubit, I refactored the code and replaced bloc with cubit just before writing this article. The rationale for the move was that Dash is a really simple application with no sophisticated features, therefore I preferred cubit, which is significantly simpler.
I had to improvise because I didn't have access to the design's assets. For the icons, I turned to Google Icons, where I found icons that were more similar to the original design.
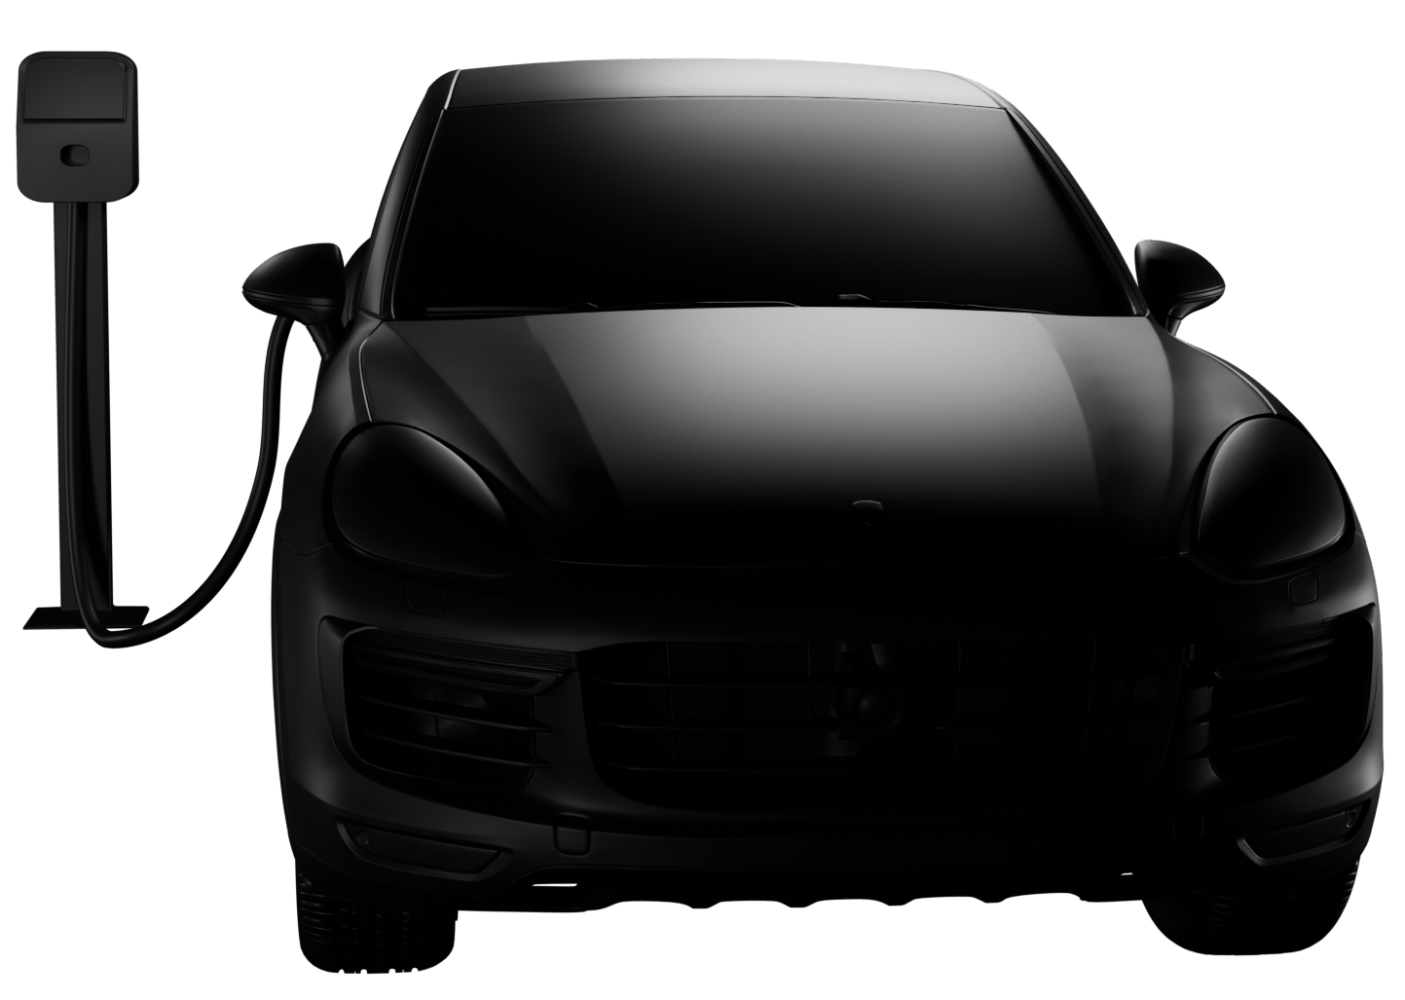
 Fig.1 A simple render of the vehicle placed in the dashboard.
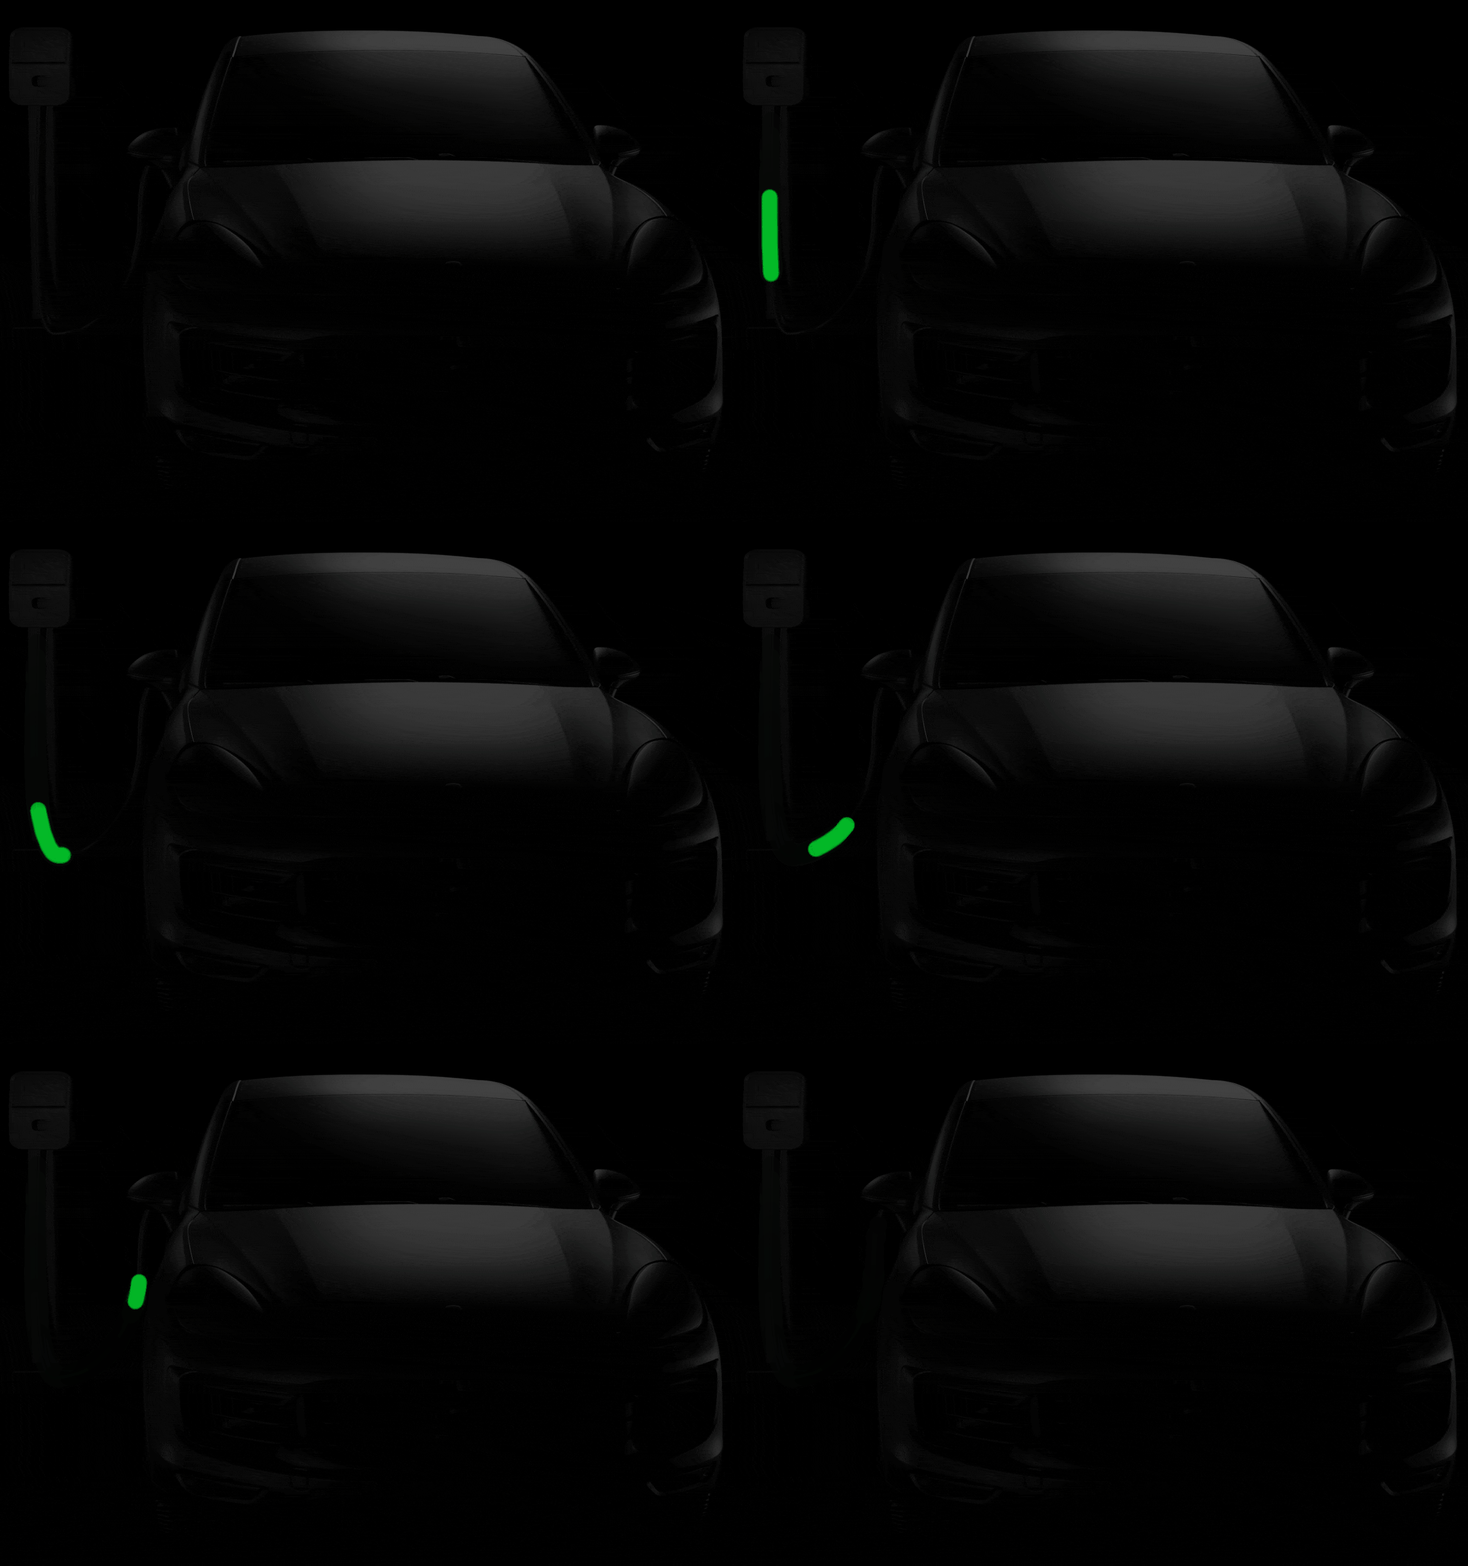
After that, I used After Effects to make the charging streak in the design (it's not the best streak, but it'll do for now 😅). The simple video was transformed into a GIF using Photoshop. The goal was to make the streak stand alone so that it could be utilized as an overlay on the 3D image.
 Fig. 2 An example of overlaying the stream on the 3d image. The opacity of the image in the background is reduced so that much focus is given to the streak in this article.
These two images are stacked with the streak being on the top. With this approach, the streak can be hidden or shown based on the charging state. Of course there are better ways of going about this but I chose this approach because I was running out of time. I'd love to hear your feedback on some of the ways you would have approached this.
Putting everything together
Below you will find the final product of Dash in action. Can this be done better? Definitely! However, I'm glad we could get to this stage finally. More projects with great experiences to come 🤗.
What frustrated me the most?
It's quite interesting but I got stuck with Bloc, states were not changing when they had to and boy was it frustrating. When you've used one thing for years and all of a sudden it doesn't work as you expect it to, the frustration is on another level and you begin to question your skill 😂. In my case, the loading screen had to get out of the way for the alert dialogue box, however it did not happen that way, it was just chaos. After taking some time off, the source of the problem was discovered, and the code was greatly simplified. My if-else reasoning was a complete disaster.
Conclusion
This project was fun and frustrating at the same time. However, I learnt so much. The most exciting part was using Rive (mostly because I prefer designing to coding 😁😅) and watching the animations change programmatically. It was actually fun.
UPDATE: It's 2022 and I must say, I've gotten better at this...and guess what, I've switched from Bloc to Riverpod, pretty cool I must say. Our next project will be implemented with Riverpod, stay tuned.

